
At anchor in West Palm Beach, I discovered that I was only five miles away from a popular, man-made reef that is known for its diversity of fish. Inspired by all of the enthusiasm in the Reef.org community for fish identification in this area, not to mention amazing photos by talented underwater photographers, I couldn’t pass up the opportunity.
So off I went with my old standby Panasonic Lumix TS6 (my 5th one owned over the past ~7 years). This reef site is right by the West Palm Beach inlet under a causeway called Blue Heron Bridge (BHB) and it only makes sense to dive/snorkel at slack high tide. A very popular spot for swimmers and divers alike, I was still surprised at how crowded it was midweek.


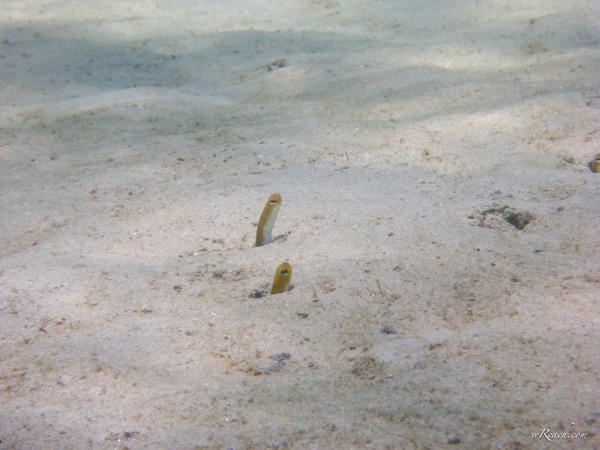
To my excitement, I found many fun fish and critters, including a few new (to me) sightings, like the [shy] yellow garden eel or the orange-sided goby standing guard at the burrow of the commensal snapping shrimp.


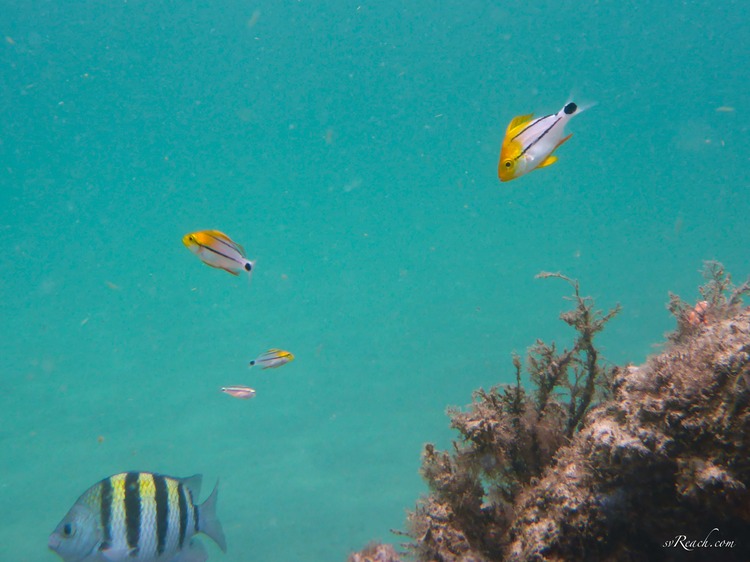
I was especially interested in finding the many nests of sergeant major eggs to see if I could get a decent photo, while the male defended and aerated the eggs with his fins and mouth as they grew.


In sharing my findings online, I met a fellow Reef.org member who was going back to BHB the next day, so we met up for another dive while the waters were still clear. I’d just received my mirrorless, micro 4/3 Olympus camera and gear that Cris delivered to me in the Bahamas a month ago, but had been too busy with LI Regatta and our passage to rig everything up. No time like the present!
My online research and eBay purchases had been productive, starting with the Olympus E-PL2 body in PT-EP03 underwater housing. I added an Olympus wet lens (2x magnification), plus an Olympus strobe with fiber optic sensor.

The kit was much larger than anything I’d used. My research panned out that this system was, in fact, neutrally buoyant in the water, making use with one hand almost as easy as the Panasonic!
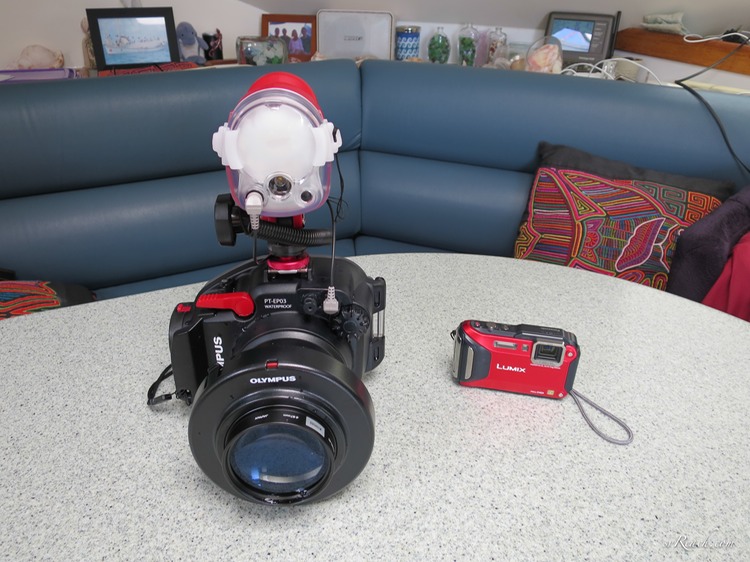
For my first snorkel with this new set-up, I stuck with the 14-42mm, f/3.5-5.6 kit lens with the wet lens on the outside of the UW housing. My goal is to graduate to a macro lens that also fits into the housing, but that challenge will come later after I get to know its focusing and handling on land first.
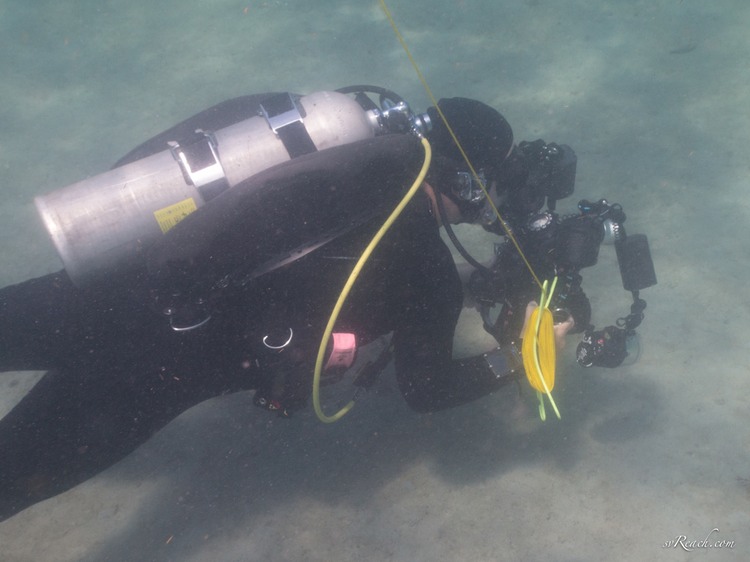
With encouragement from my new friend Jeff, I set out with my new UW camera gear.

If I thought my kit unwieldy, I was soon to get a reality check when seeing my gear next to his!
Jeff has been a diving and UW photography instructor, and I was so grateful to meet him and share a common passion.
His photos are in another league.
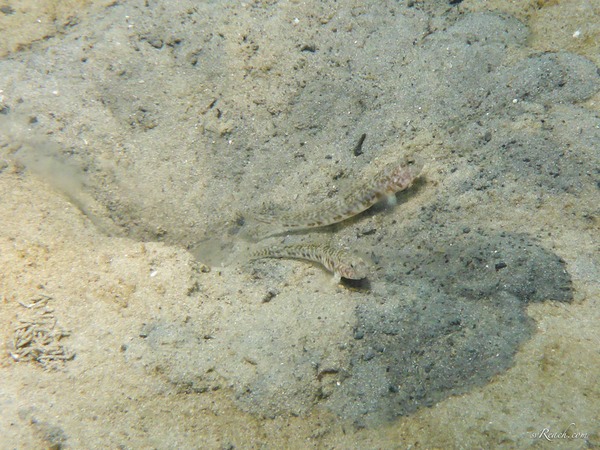
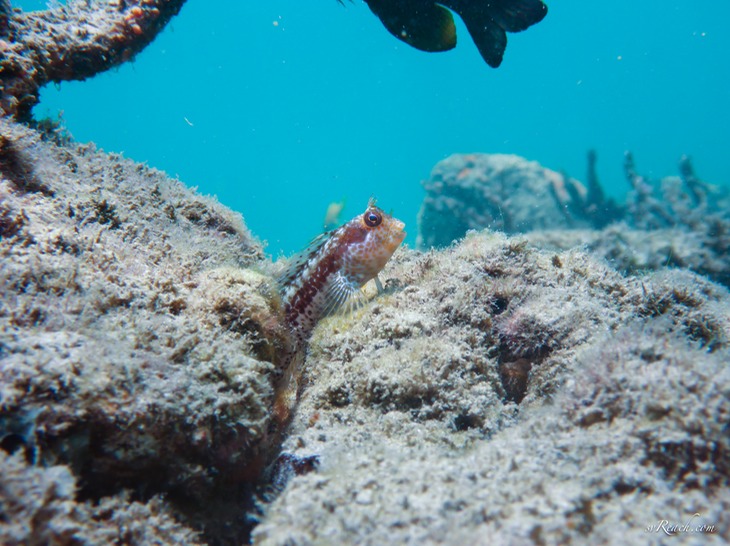
Jeff discovered this cute pygmy filefish framed by an orange sponge. I was happy to find a pair of banner gobies (male & female) hovering over their home, plus an elusive (!) hairy blenny hiding in the engine of an old wreck ~ the biggest blenny I’ve ever seen.


I also came across another nest of sergeant major eggs at a different stage of development than the ones I photographed previously (no eyes). It was challenging to focus on these with the new camera so this will be a new goal for proper use of the macro lens in the future.


As with my satisfaction with the Olympus camera on land, I am reasonably pleased about the results for my first day using it underwater. Focal distances, and hence framing, changes with various lenses, which takes some getting used to. For this trip, I was only focused on the focus aspect of moving subjects while submerged and was relieved that my free-diving techniques for buoyancy and steady focus will still work with minor adjustments.


For this trial, I stuck with auto focus and automated aperture/exposure settings. I understand that the aperture is critically important underwater (& for macro) photography, so I need to start learning those relationships. I’m glad that I went ahead and got the strobe, since this is also a must-have underwater. It uses TTL (through the lens) metering with a pre-flash that served me well to not wash out my photos. I appreciate the color pop that I now get with use of a flash and am digging the depth and range that raw files bring to post-processing.


The wet lens brings subjects closer the the sensor, so a nicely framed photo from the same distance is easier to create without having to crop the image. For example, these are literally the same photo-ops with an original and 1:1 crop taken from the Panasonic versus the Olympus with 2x wet lens:
PANASONIC ~ Original photo // 1:1 crop

OLYMPUS ~ Original photo // 1:1 crop


My underwater photography has evolved over the past seven or so years that I’ve been at it. I’ve been happy with the results, exclusively free diving; however, I've started to feel like I’d plateaued. I know and believe that it isn’t gear that makes a great photograph (!!), but I was mentally ready to try out the next step. I’m glad I did.
For me, I can already see the difference in the overall results taken with my previous camera to this one-day trial run. There are a few comparisons that I can begin to examine here, some in the exact same place with the same critter!
PANASONIC // OLYMPUS:


I was not as skilled with the new camera housing after one day as I’d been with my old standard, but I like the performance and definitely can see the potential. With time, I’ll need to work on backscatter, manual aperture adjustments and try out the Olympus f/2.8 60mm prime lens, which conveniently fits in the UW housing.