The new stern design gets rid of the bottom step altogether, reducing from five steps to four. Footfalls will all be evened out to ~11" each and the bottom two steps elongated. This should provide functional platforms for hauling up and down groceries and gear for snorkeling ~ nice!
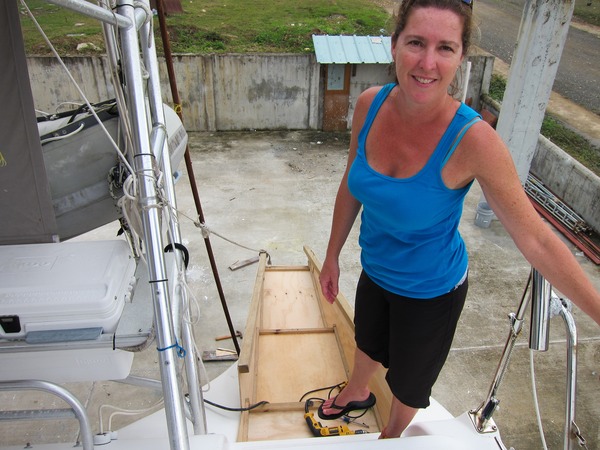
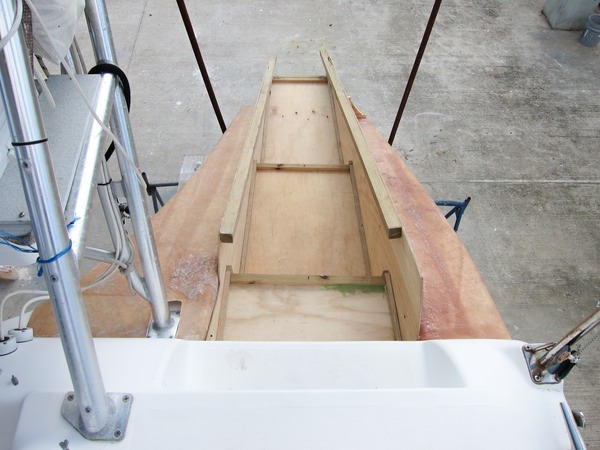
This was the next piece of construction ~ to build the plywood plug of the outline of the new steps. At least some of this work could be done under the bridge-deck during the unwanted rain.
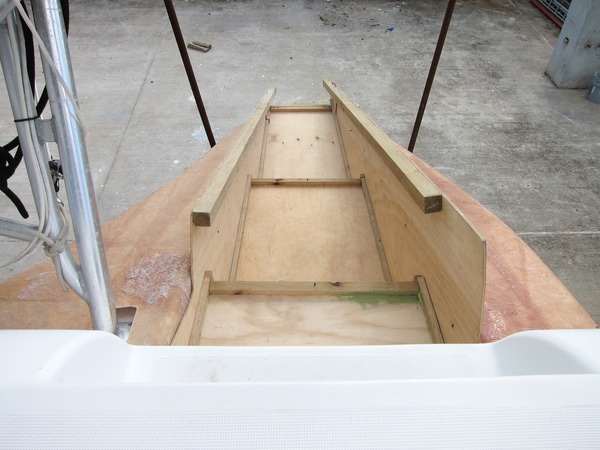
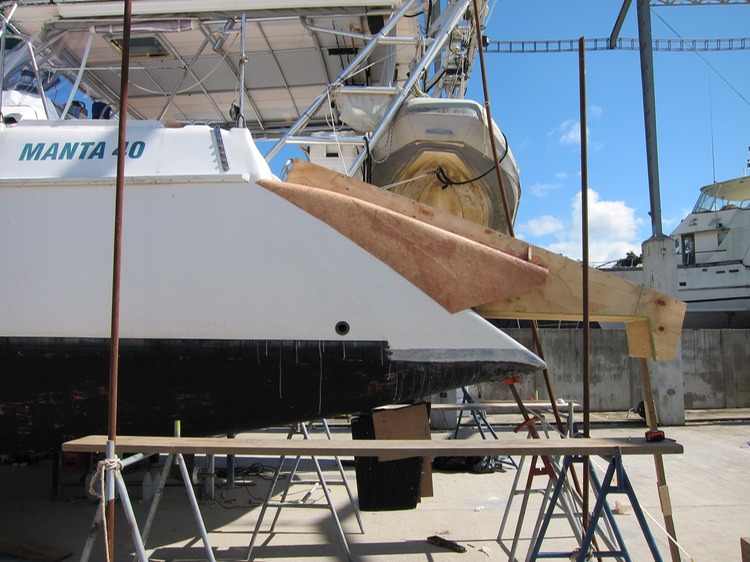
It is exciting to visualize the new dimensions from all angles. From the deck you can see the elongated bottom steps.
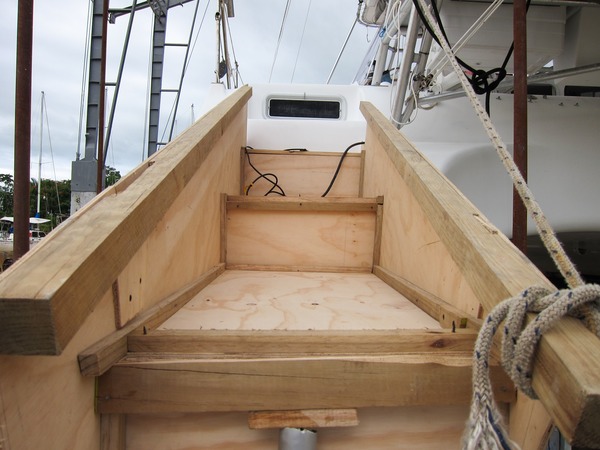
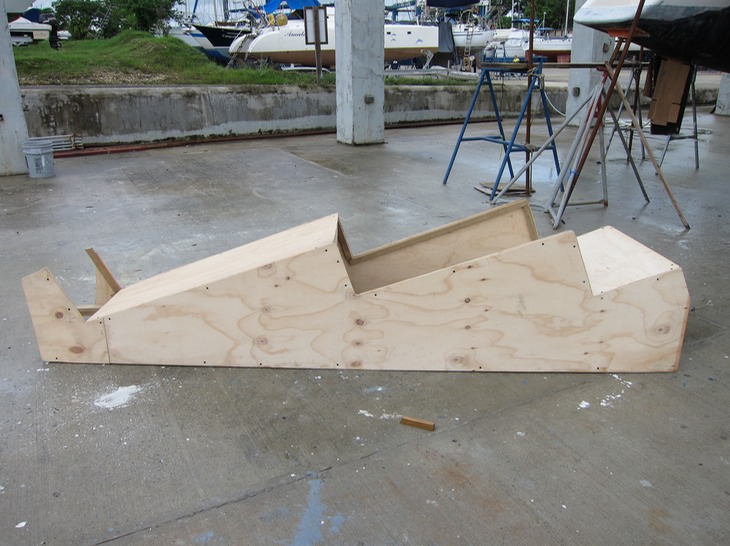
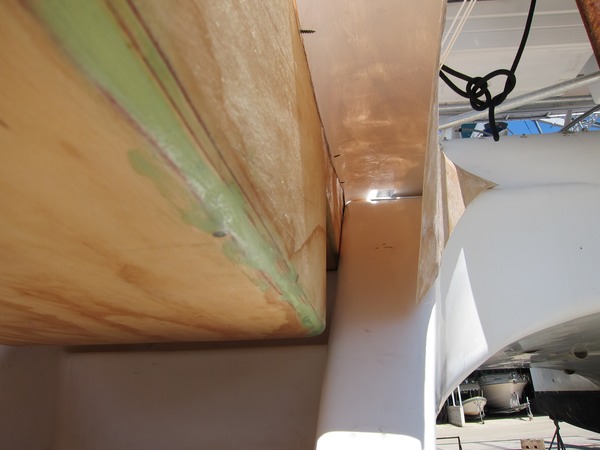
From the underside you can see an impression of where the steps will fall over the old ones. The internal bulkhead will fall in the empty space seen in between. The old steps and integrity of the boat will remain intact underneath the extension and thus create a water-tight "crash box" at the sterns.
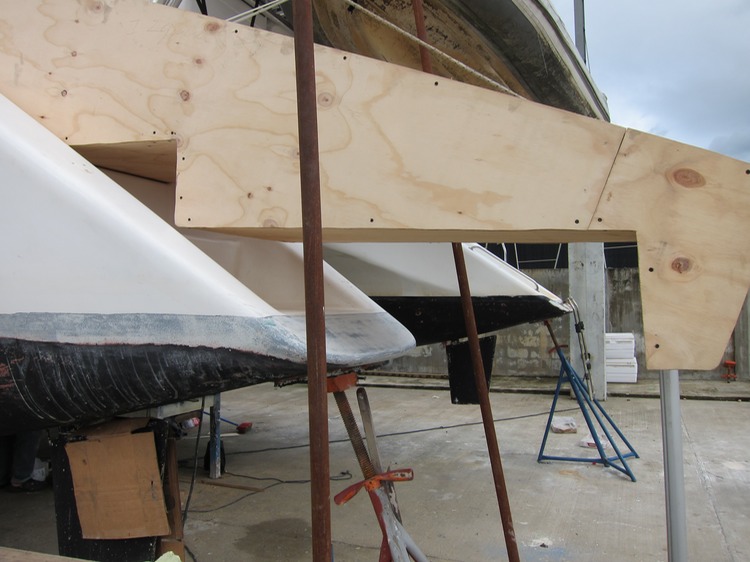
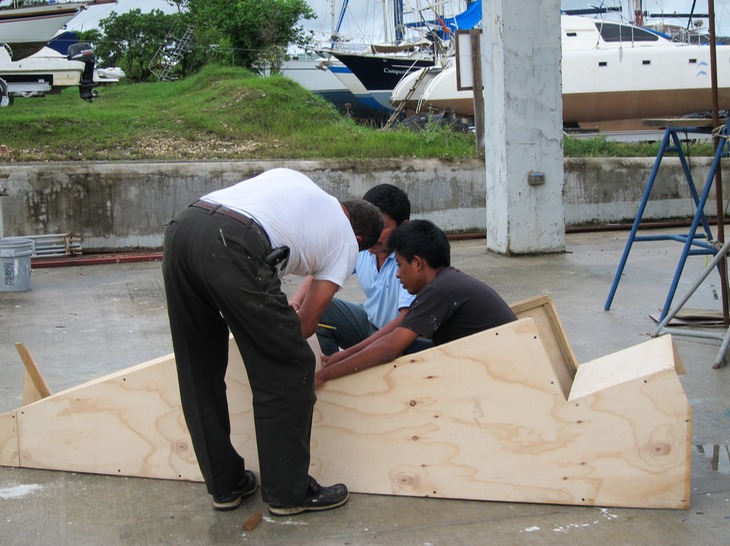
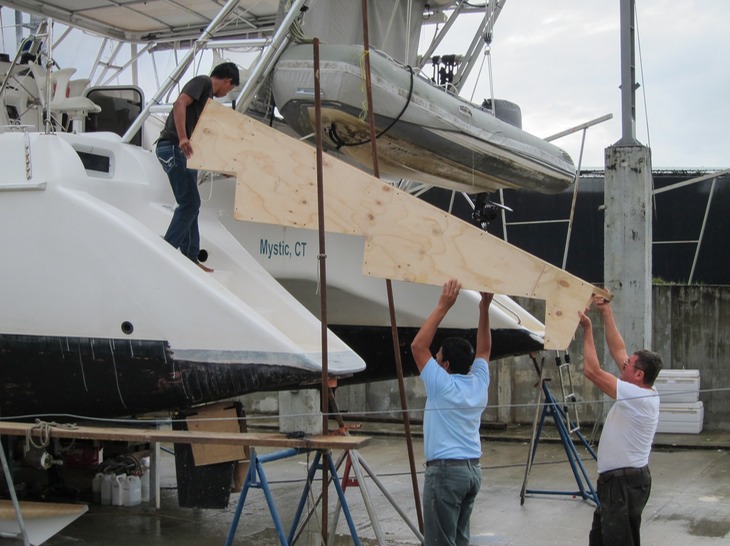
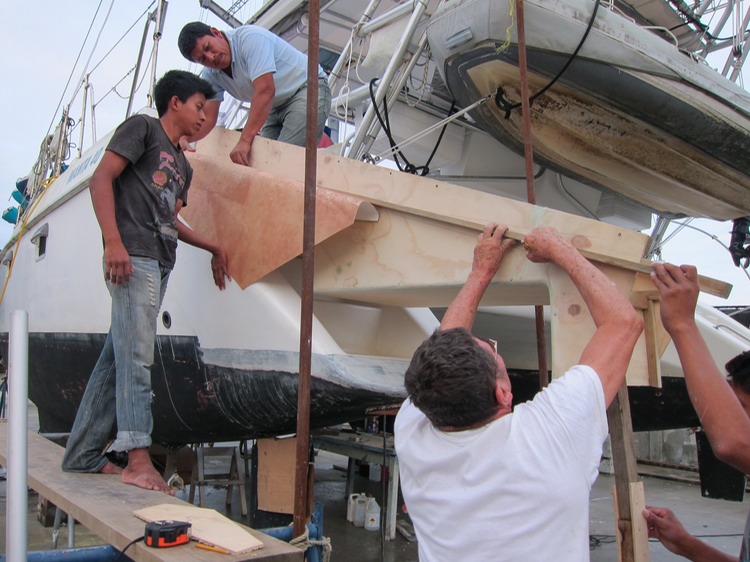
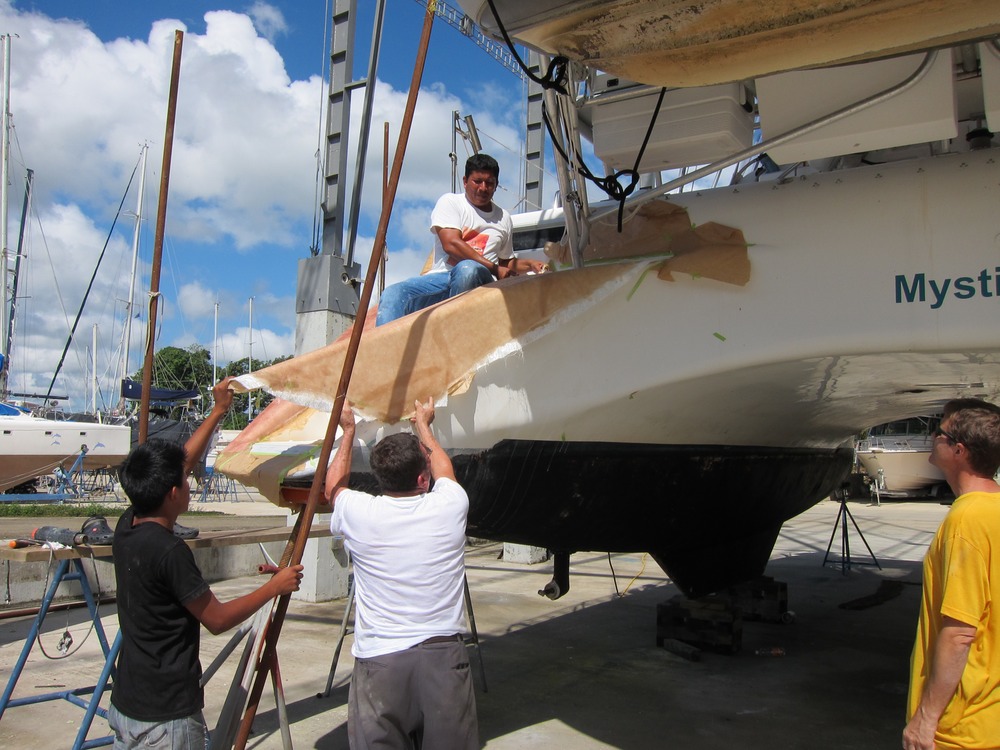
The plywood steps could now be attached to the side molds to begin to create a monocoque mold of the new stern. We all liked the increase in the curved lines created as the side molds were raised to form new lines. These will be tapered down and we think make the extensions look quite pretty.
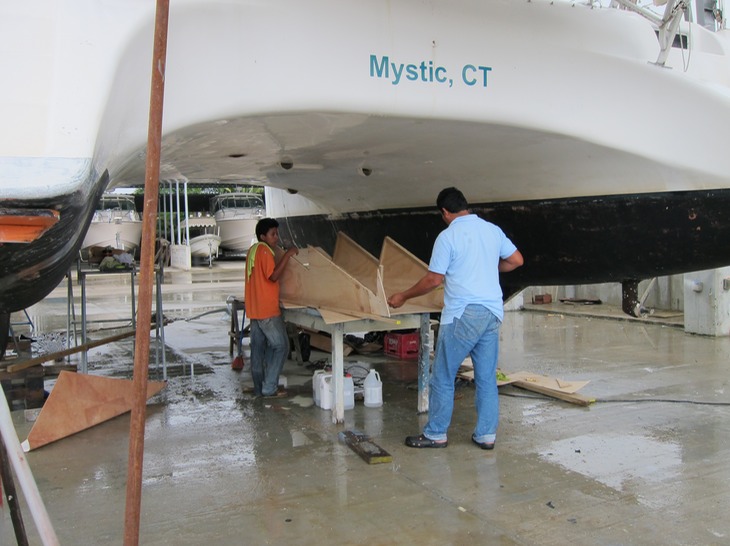
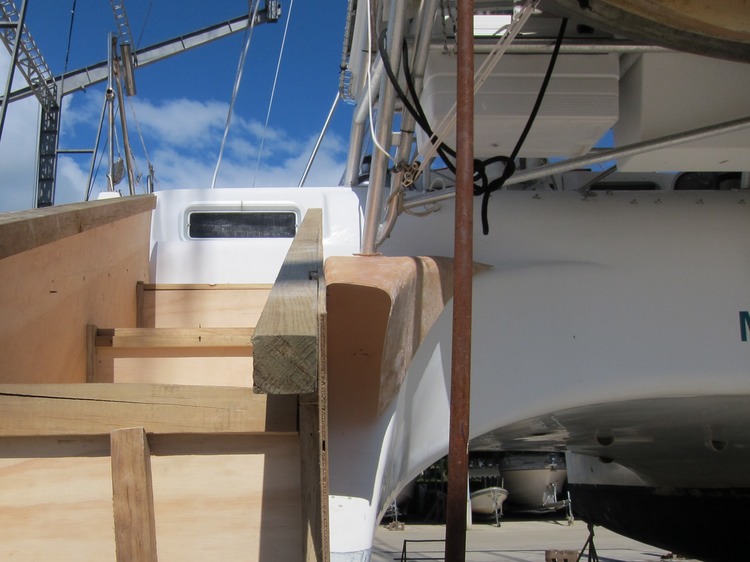
Two-steps forward and one step back, as they say ~ indeed there was a catch and it took us a good day of pondering to come to a solution. To keep the new lines strong yet seamless, they need to be integrated into the boat at the natural flexion point from the main rear cockpit bulkhead where you see our Mystic, CT homeport.
Here we found the not so small problem of what to do about the aluminum arch post, a load-bearing structural part of the cockpit and sail rig.
The new lines of the stern crept up on this post a few inches and a decision needed to be made.
A few options were considered and rejected:
(1) Raise the post onto the new stern? Nope ~ changes dodger, boom position and not structurally sound.
(2) Box around the post and fill in? Negative ~ we know what happens to aluminum in fillers.
(3) Start new lines below the post? Yuck ~ this would either create a "bubble" to keep the curves as we like or force us to make straight lines.
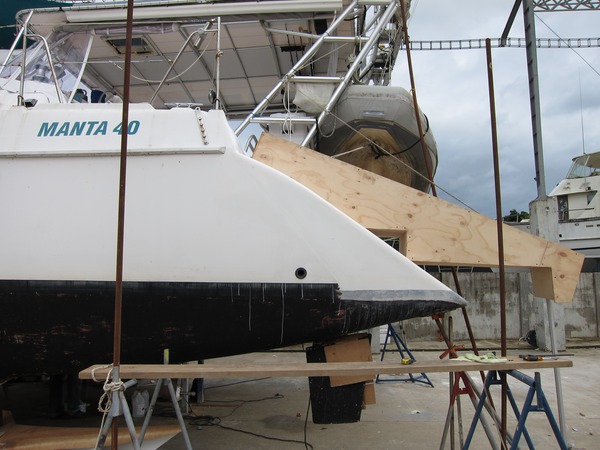
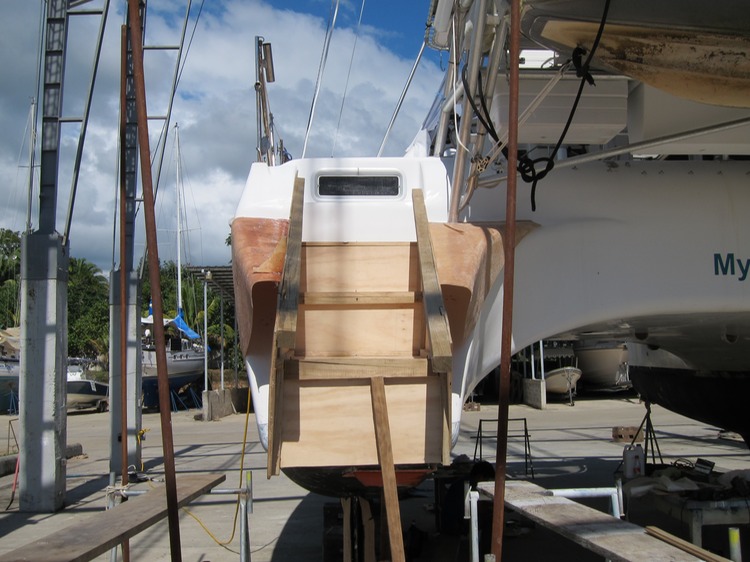
We almost decided to straighten out the lines and go for function over curvy prettiness as we first envisioned here.
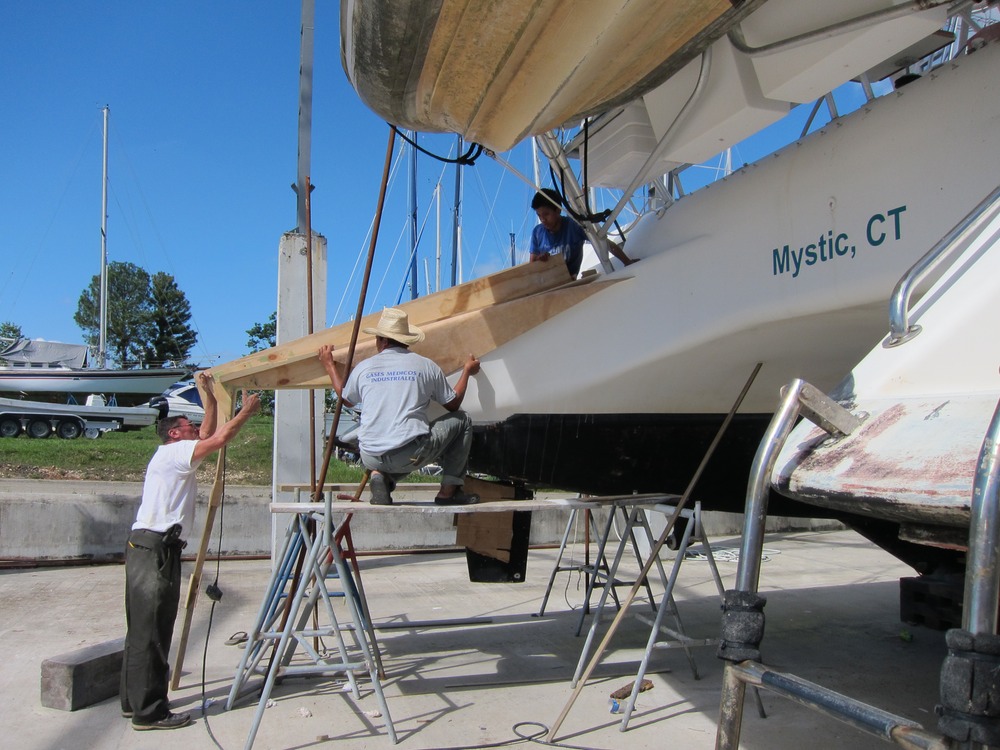
Momentum slowed and no one was satisfied with this look when we tested the straightened lines out as seen here, which looked even more awkward on the other side.
Finally, we came up with a decent solution:
(4) Create a cut-out on the inside of the stern side around the post. Blend and angle it to keep the curves and minimize water pooling and strength can be maintained across the broad overlay up to the flexion point.
Okay, we're back in business and will have pretty lines to look at!

The tail-end of the stern will sit at a greater height out of the water where the new lines and the bottom of the hull meet. The final extension is measuring out to be an additional 27" of length at the waterline with a 8" high rise at the back step. We planned it this way to keep water from lapping up on the step even with full tanks and dinghy raised.

We are yet another step closer (pun intended)!