
The saildrives that mechanize our propellors were removed from Reach for the first time since she was built in 1998. These are used in the majority of catamarans for propulsion in lieu of shaft drives, which can be harder to place and align in various catamaran designs. They are rugged parts as they must be, since they are connected to the engine by a relatively large hole in the bottom on the hulls. You need a serious seal with a thick rubber boot to keep the ocean water on the outside.


To remove the drives, they must first be disconnected from the diesel engine. We have Volvo Penta MD2030's and Mark made a Spanish windlass attaching them to an overhead beam to lift and shift the engines back from their beds so that the saildrives could be disconnected and removed from the hulls. Okay, that is one big-ass gaping hole sitting just below our bunk!


The saildrive was lifted on and off of Reach using the spinnaker halyard.
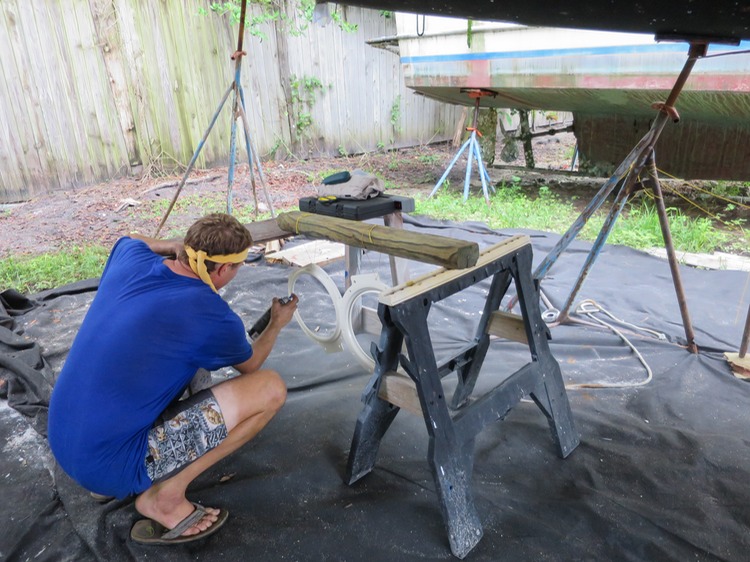
We then took the saildrive back in the Golden Bullet to the garage in our rented condo to work on a convenient workbench.

*Hull seal kit & saildrive boot
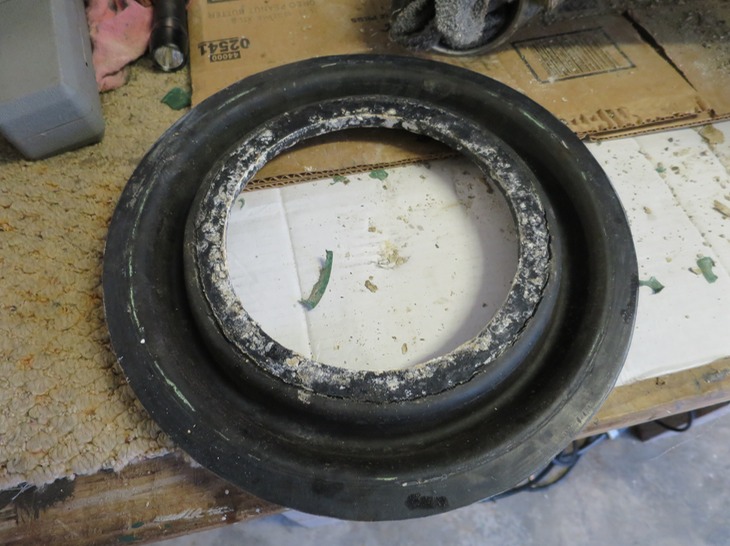
The old saildrive boots were still in decent shape even after 18 years; checking in the inner rubber fold was visible in both boots. Volvo says to replace them every 7 years and that is fairly conservative.

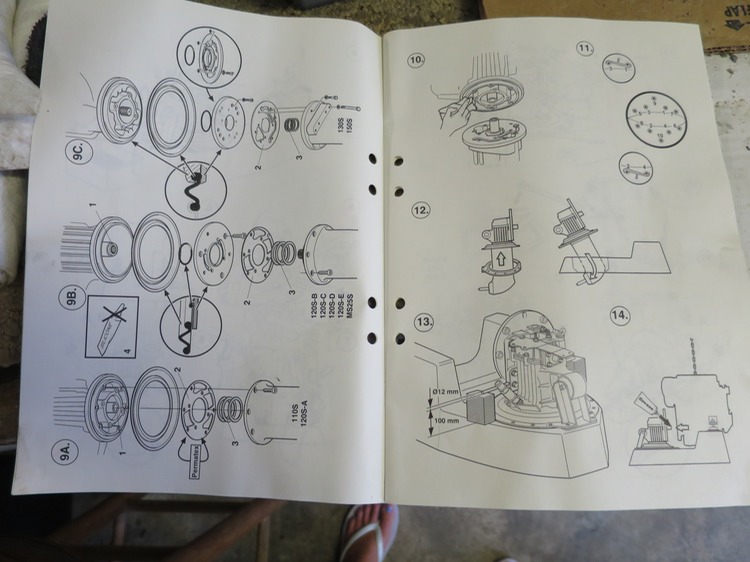
The new boot is installed between the lower gear casing and upper case with replacement o-rings and gaskets. A specific torque sequence is specified for the bolts (don’t forget the anti-seize) and a seizing wire included for bolts 1 & 3 and 2 & 4 for good measure.


The clamp rings that hold the boots down onto the engine bed were slightly corroded. They were cleaned up with a wire brush, treated with phosphoric acid to convert any remaining rust and then spray painted to protect them.
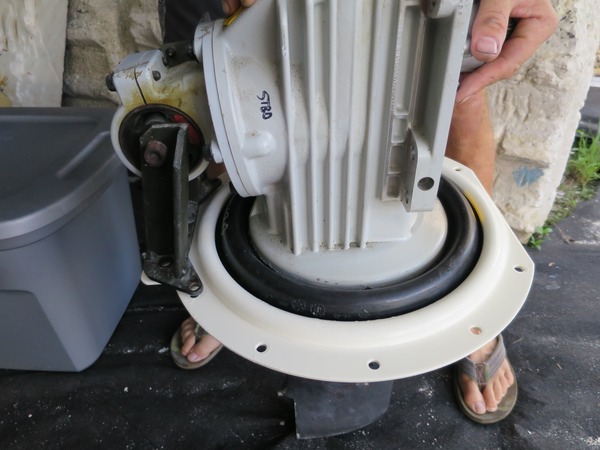
When reinstalled back in the boat, the clamping ring is loosely bolted down, the saildrive supported with blocks to the proper angle to meet the engine, and the engine very carefully slid back so the flywheel and damper plate re-engages the saildrive input shaft. Then the saildrive and engine are bolted together and torqued and the engine mounts bolted back to the engine bed.


*Rear engine seal
Our port engine rear lip seal had been leaking slightly for the past two years. When disengaging the saildrives, this area was available to access in both hulls for a seal change of its own. Removing the adapter plate, damper plate, flywheel, flywheel housing, exposed the back of the crankshaft and its rear oil seal. The seal was removed and a new seal installed. Dissimilar metals join the engine to the saildrive (steel and aluminum respectively), so it is important to keep them electrically isolated from the engine with a teflon ring, washers and bolt spacers.

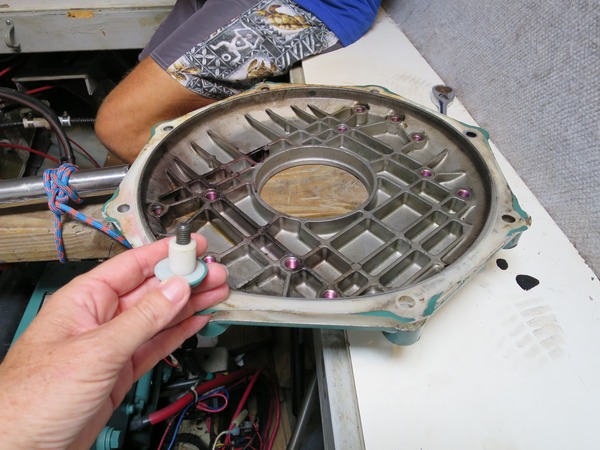
*Input shaft
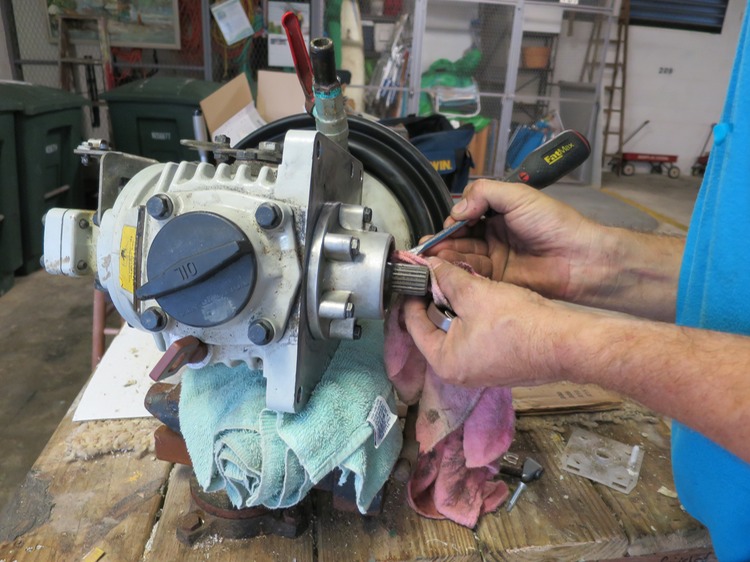
The input shaft to the transmission has a lip seal that might as well be replaced during the saildrive work. It is easily removed with a screwdriver and replaced with a gentle tap to seat it.


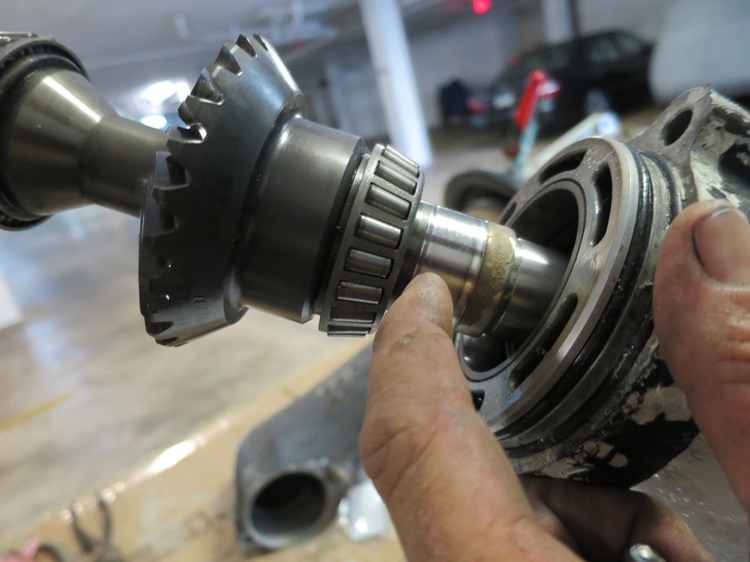
*Prop shaft
The prop shaft lip seals keep the water out of the oil and the oil in the saildrive. These are replaced by pulling out the prop shaft and seal/bearing housing. Here we found some slight scoring on the shaft and decided to install sleeves on the shaft to provide a tight fit for the seals to ride and to protect the shaft from further scoring.


The new pair of prop seals were installed in the seal/bearing housing, one to keep the saildrive oil in and the other to keep the ocean water out.


** & REPEAT other hull**
The above describes my quick lesson in saildrive re-assembly. A few observations from Mark that he found relevant to share with the Manta Owners Forum are included below, as the one doing the work.
We are in the process of changing our saildrive main hull boot seals, as well as the rear oil seals on the engine (no better time to get to that than when the tranny is removed). A couple of observations from the first one:
1. Our 18yr old main hull seal looks almost new. There is a slight bit of checking on the fold of it. I have never heard of a hull seal failure - and I have searched far and wide for one. All of my experience tells me that Volvo's 7 year replacement requirement is hooey.
2. When you order the hull seal kit, it comes with the main seal, two O-rings, a gasket, some seizing wire, and the secondary fairing seal. One of the O-rings is quite a large one and I'll be damned if I can figure out where that goes. It is not shown in the included instructions, nor in the exploded drive schematic, nor did I remove a similar O-ring in the disassembly. It is not found on the 110S, 120S-ABCDE, or 130S schematics. I thought it was included as a mistake in the package, but the other package contains one also. Volvo is messing with their customers. It's probably something really funny in Swedish, but doesn't translate well.
3. If you decide to do this job, take the extra 5 minutes and change the oil seal on the input shaft (the shaft that couples to the engine). You won't get another chance at it without removing the tranny again, and the part is relatively inexpensive. This seal isn't included in the kit, so you will need to order it. The official workshop manual instructions for removing this shaft seal is to jam a screwdriver in it and pry it out. Not a technique normally recommended for this type of job, but it works quickly. The workshop manual also says to remove the entire housing and gear and put it in a vise for removing the seal. No need for that - just leave the whole thing in place and use a screwdriver.
4. I bought Perkins Perama M30 rear oil seals from Trans Atlantic Diesel for $32/each. This Perkins engine is the exact engine as the Volvo MD2030. Marinepartsexpress wanted $64 for the Volvo seal. I was lucky (on this engine, at least) that the tranny plate, damper plate, flywheel and flywheel housing easily came apart in less than 30 minutes.